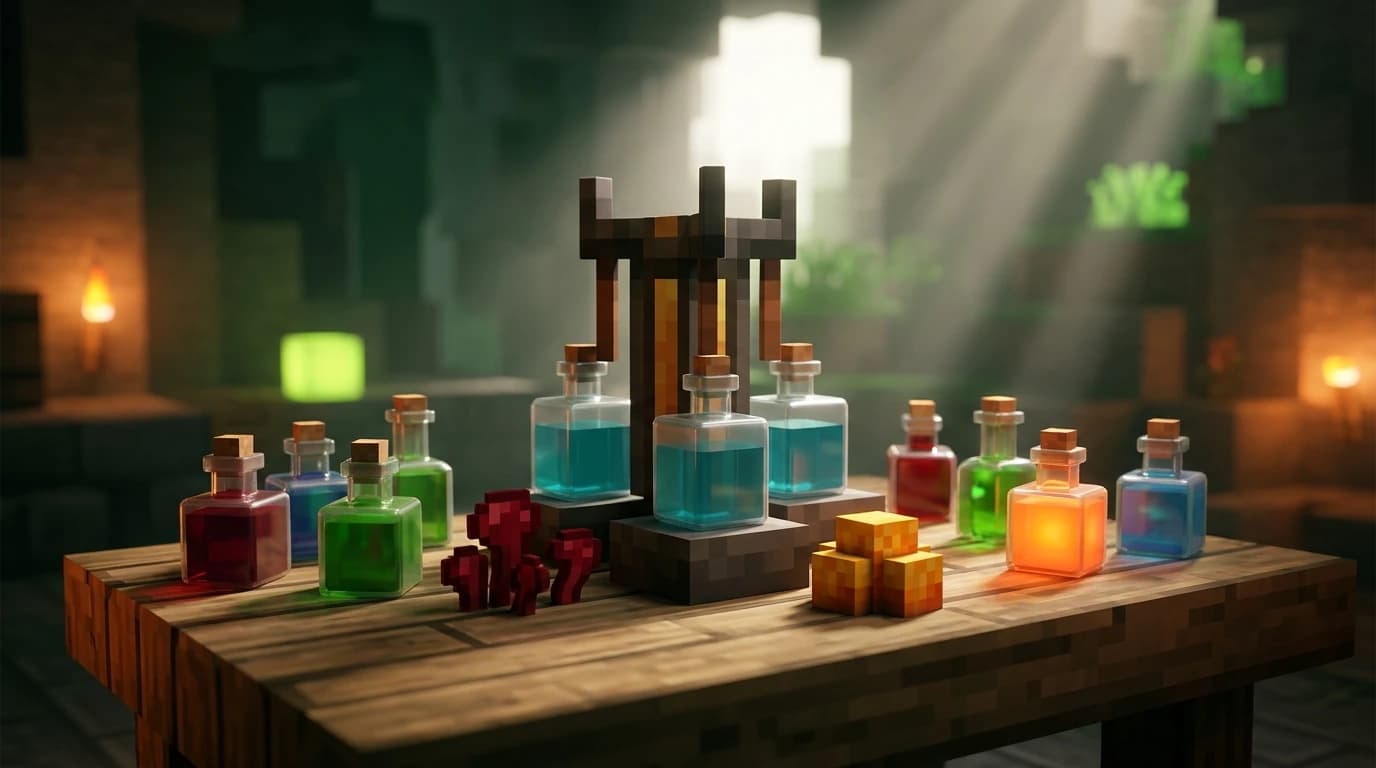
To answer how do you make a potion in minecraft, craft a brewing stand with 1 blaze rod and 3 cobblestone, fuel it with blaze powder, and place water bottles below Nether wart. The resulting Awkward Potions become useful brews when you add ingredients such as sugar, spider eye, ghast tear, or glistering melon.
How do you make a potion in Minecraft?
Most useful potions follow a two-stage process. First, turn water bottles into Awkward Potions with Nether wart. Then brew the Awkward Potion with an effect ingredient. You can brew up to three bottles at once, so one ingredient creates three potions when all three bottom slots are filled.
What you need
- Brewing stand
- Blaze powder for fuel
- Glass bottles filled with water
- Nether wart for the base potion
- The ingredient for your chosen effect
How to brew a basic potion
- Place the brewing stand and open it.
- Put blaze powder in the fuel slot at the upper-left of the brewing interface.
- Place one, two, or three water bottles in the bottom slots.
- Put Nether wart in the top ingredient slot and wait for the brewing process to finish.
- Leave the resulting Awkward Potions in the bottom slots and replace the Nether wart with an effect ingredient.
- Collect the finished potions when the brewing arrow is complete.
Brewing powder is consumed as fuel rather than as a normal recipe ingredient. One blaze powder can fuel up to 20 brewing batches, and each batch can process three bottles.
How to make a potion stand in Minecraft
The item commonly called a potion stand or potion table is the Brewing Stand. You craft it at a crafting table or find one in certain generated structures, including some villages, igloos, and end ships.
| Ingredient | Quantity | Crafting-grid placement |
|---|---|---|
| Blaze Rod | 1 | Center slot of the top row |
| Cobblestone or another valid stone-tier block | 3 | Across the entire bottom row |
Place one blaze rod in the center of the top row, then place three cobblestone blocks across the bottom row. The result is one Brewing Stand. You also need blaze powder, made by placing a blaze rod in any crafting slot, to power it.
Base ingredients and potion modifiers
Water bottles are the starting point for brewing. Most effect potions require an Awkward Potion, but Weakness is the important exception: you can brew it directly from a water bottle.
- Nether wart: turns a water bottle into an Awkward Potion.
- Redstone dust: usually makes a potion last longer.
- Glowstone dust: usually increases the potion to level II, if that effect supports a stronger level.
- Gunpowder: converts a drinkable potion into a Splash Potion.
- Dragon's Breath: converts a Splash Potion into a Lingering Potion.
Do not add Redstone dust and Glowstone dust to the same potion expecting both upgrades. Choose the modifier that matches your goal. Redstone is best when you need a longer buff, while Glowstone is best when you need a stronger effect.
How to make the most requested potions
Use the following recipes in a Brewing Stand. Put the listed effect ingredient in the top slot and the required base potion in the three lower slots.
| Potion | Base | Ingredient |
|---|---|---|
| Potion of Regeneration | Awkward Potion | Ghast Tear |
| Potion of Swiftness | Awkward Potion | Sugar |
| Potion of Poison | Awkward Potion | Spider Eye |
| Potion of Weakness | Water Bottle | Fermented Spider Eye |
| Potion of Healing | Awkward Potion | Glistering Melon Slice |
| Potion of Harming | Potion of Healing | Fermented Spider Eye |
| Potion of Slowness | Potion of Swiftness | Fermented Spider Eye |
| Potion of Strength | Awkward Potion | Blaze Powder |
| Potion of Fire Resistance | Awkward Potion | Magma Cream |
| Potion of Night Vision | Awkward Potion | Golden Carrot |
| Potion of Invisibility | Potion of Night Vision | Fermented Spider Eye |
| Potion of Water Breathing | Awkward Potion | Pufferfish |
| Potion of Leaping | Awkward Potion | Rabbit's Foot |
| Potion of Slow Falling | Awkward Potion | Phantom Membrane |
| Potion of the Turtle Master | Awkward Potion | Turtle Shell |
How to make a Potion of Weakness
Place up to three water bottles in the brewing stand, add a Fermented Spider Eye to the ingredient slot, and wait for the process to finish. Unlike most useful potions, Weakness does not need Nether wart first. This makes it one of the easiest potions to brew when curing a zombie villager.
To craft a Fermented Spider Eye, combine one spider eye, one sugar, and one brown mushroom in any arrangement in a crafting grid. The ingredients do not need a specific layout.
How to make a Potion of Regeneration
First brew Nether wart into Awkward Potions. Then add one Ghast Tear. The result is a Potion of Regeneration. Add Redstone dust afterward if you want a longer-lasting version, or use Glowstone dust if the available recipe supports the stronger regeneration level.
How to make a Potion of Poison
Brew Nether wart into Awkward Potions, then add a Spider Eye. Poison damages living targets over time but does not reduce a target below one health. Add Gunpowder afterward if you want to throw the effect rather than drink it.
How to make a Potion of Harming
Start with a Potion of Healing, then brew it with a Fermented Spider Eye. This changes Instant Health into Instant Damage. Harming hurts most living enemies, but healing and harming have opposite effects on undead mobs, so a healing potion damages undead targets while a harming potion heals them.
How to make throwable potions
A throwable potion is called a Splash Potion. Brew the normal potion first, then place it in the bottom slots of the Brewing Stand and add one Gunpowder to the top slot. The effect ingredient is not needed again because the potion already contains its effect.
- Finish the normal potion you want to throw.
- Place up to three finished potions in the bottom slots.
- Add Gunpowder to the top slot.
- Collect the Splash Potions and throw them at a target or the ground nearby.
Splash Potions affect entities near the point of impact. This makes them useful for applying Weakness to a zombie villager, healing several allies, or hitting multiple enemies with Poison or Slowness.
To make a Lingering Potion, brew a Splash Potion with Dragon's Breath. Lingering Potions create an area cloud that applies the effect to entities standing inside it, but Dragon's Breath is limited because you collect it from the Ender Dragon's breath attacks.
How to make a potion last longer
To extend a potion's duration, place the finished potion in the Brewing Stand and add Redstone dust. This works for many timed effects, including Regeneration, Swiftness, Poison, and Slowness. The potion usually keeps the same effect strength while lasting longer.
Some potions cannot be extended, especially instant-effect potions such as Healing and Harming. You also cannot extend a potion by adding Redstone dust before creating its effect. First brew the effect, then apply the duration modifier.
Java and Bedrock potion differences
The main brewing steps and the core recipes are the same in Java Edition and Bedrock Edition. The most important practical difference is that effect strength, duration, and the usefulness of some potions can vary between editions. If a potion behaves differently after brewing, check the effect details in your edition rather than assuming every numeric value matches.
Weakness is still the convenient exception in both editions: use a Fermented Spider Eye with a Water Bottle instead of making an Awkward Potion first. The Brewing Stand interface also uses the same basic arrangement of three bottle slots, one ingredient slot, and a blaze-powder fuel slot.
Common brewing mistakes and faster alternatives
- Using the wrong base: most effect ingredients need an Awkward Potion, while Weakness starts with a Water Bottle.
- Forgetting fuel: a Brewing Stand will not start without blaze powder.
- Adding Gunpowder too early: brew the potion effect first, then convert it into a Splash Potion.
- Using Glowstone on an instant potion: Glowstone cannot extend an instant effect; it may only create a stronger level where supported.
- Brewing one bottle at a time: fill all three lower slots to get three potions from one ingredient.
- Confusing a potion table with a crafting table: potions are brewed in a Brewing Stand, not crafted in a standard crafting grid.
For a reliable early brewing setup, gather several glass bottles, fill them at any water source, and keep Nether wart, blaze powder, and common ingredients in a chest beside the stand. This lets you produce three matching potions per batch without repeatedly collecting supplies.