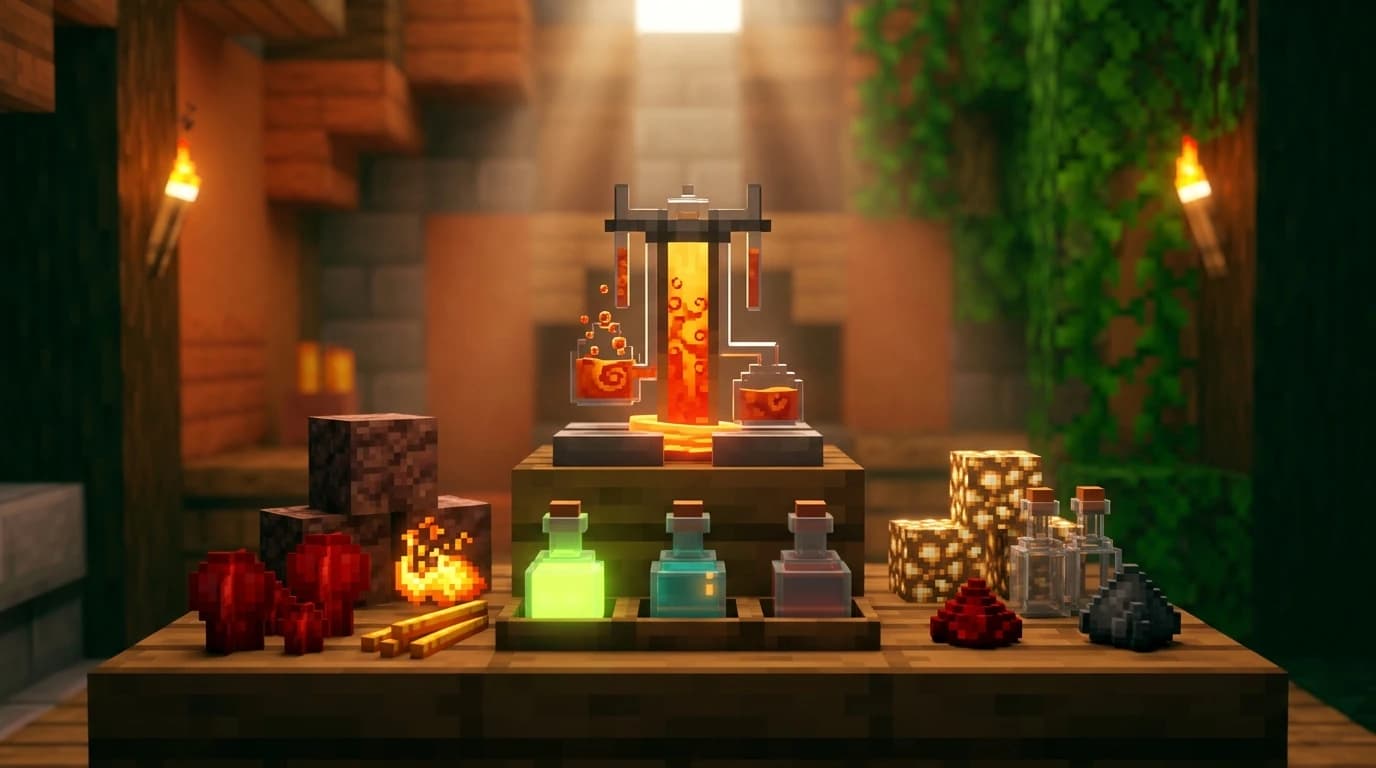
To learn how to brew potions in Minecraft, craft a brewing stand with 1 blaze rod and 3 cobblestone, fuel it with blaze powder, and place up to 3 water bottles below. Add Nether wart to make Awkward Potions, then brew an effect ingredient into them. Use redstone, glowstone, gunpowder, or dragon’s breath to modify the result.
What you need before brewing
Most useful potions follow the same chain: water bottle, Awkward Potion, effect potion, then an optional modifier. Gather the equipment and ingredients below before opening your brewing stand.
- Brewing stand: The workstation used to combine bottles and ingredients.
- Blaze powder: Fuel for the brewing stand. One blaze powder fuels up to 20 brewing operations. ([minecraft.fandom.com](https://minecraft.fandom.com/wiki/Brewing_Stand?utm_source=openai))
- Glass bottles: Craft three bottles from three glass blocks, then fill them at a water source or cauldron.
- Nether wart: The base ingredient for almost every effect potion.
- Effect ingredients: Items such as sugar, a golden carrot, a pufferfish, or a ghast tear create specific effects.
- Optional modifiers: Redstone dust extends duration, glowstone dust increases potency for compatible potions, gunpowder creates splash potions, and dragon’s breath creates lingering potions.
You can place one, two, or three bottles in the brewing stand. Using three bottles is the most efficient choice because one ingredient brews all three at the same time.
How to craft a brewing stand
| Ingredient | Quantity | Crafting-grid position |
|---|---|---|
| Blaze rod | 1 | Center square |
| Cobblestone | 3 | All three squares across the bottom row |
To craft the brewing stand, place 1 blaze rod in the center square of a crafting table and 3 cobblestone in the bottom row. The recipe produces 1 brewing stand. Blackstone can also replace cobblestone in current versions. ([supercraft.host](https://supercraft.host/wiki/minecraft/brewing_potions_guide/?utm_source=openai))
Blaze rods come from Blazes, usually found in Nether fortresses. You need at least two rods for a normal setup: one rod to craft the stand and another to turn into blaze powder for fuel. A brewing stand can also generate in some structures, but you still need blaze powder to operate it.
How to brew potions in Minecraft
- Place the brewing stand and open its interface.
- Put blaze powder in the fuel slot on the left side.
- Place up to three water bottles in the three bottom slots.
- Put Nether wart in the ingredient slot at the top.
- Wait for the brewing process to finish. The water bottles become Awkward Potions.
- Replace the Nether wart with the effect ingredient for the potion you want.
- Collect the finished potions from the bottom slots.
A brewing operation takes about 20 seconds. The stand brews all valid bottles in its bottom slots together, so three bottles cost the same ingredient and brewing time as one. If nothing happens, check that the stand has blaze powder, valid bottles, and the correct ingredient for the potion stage. ([minecraft.fandom.com](https://minecraft.fandom.com/wiki/Brewing_Stand?utm_source=openai))
Every basic potion recipe
Start by turning water bottles into Awkward Potions with Nether wart. Then use one of the ingredients below in a second brewing operation.
| Potion | Ingredient added to an Awkward Potion | Main use |
|---|---|---|
| Swiftness | Sugar | Increases movement speed |
| Strength | Blaze powder | Increases melee attack damage |
| Leaping | Rabbit’s foot | Increases jump height |
| Regeneration | Ghast tear | Restores health over time |
| Fire Resistance | Magma cream | Protects against fire and lava |
| Water Breathing | Pufferfish | Prevents drowning |
| Night Vision | Golden carrot | Improves underwater and dark-area visibility |
| Invisibility | Fermented spider eye added to Night Vision | Makes the player invisible |
| Poison | Spider eye | Damages living targets over time |
| Healing | Glistering melon slice | Restores health instantly |
| Slow Falling | Phantom membrane | Slows falling and prevents fall damage |
| Turtle Master | Turtle shell | Provides strong resistance but causes heavy slowness |
These recipes use Awkward Potions as their base. The exception is Weakness, which you can brew directly by adding a fermented spider eye to a water bottle. Fermented spider eyes are crafted from 1 spider eye, 1 sugar, and 1 brown mushroom.
How to brew Weakness, Harming, and Slowness
Fermented spider eyes alter existing potion effects instead of simply adding a new effect. This makes them important for several recipes that do not come directly from an Awkward Potion.
- Weakness: Add a fermented spider eye directly to a water bottle.
- Harming: Add a fermented spider eye to a Potion of Healing or Potion of Poison.
- Slowness: Add a fermented spider eye to a Potion of Swiftness or Potion of Leaping.
- Invisibility: Add a fermented spider eye to a Potion of Night Vision.
Harming and Healing behave differently against undead mobs. A Healing potion damages undead targets, while a Harming potion restores their health, so check your target before throwing a splash version. ([minecraft.wiki](https://minecraft.wiki/w/Tutorial%3ACombat?utm_source=openai))
How to extend, strengthen, and throw potions
Extend the duration with redstone
Add redstone dust to a compatible potion to make its effect last longer. This is usually the best upgrade for exploration, mining, fire resistance, water breathing, and night vision because you get more time from each bottle.
Increase potency with glowstone
Add glowstone dust to a compatible potion to create a stronger version, such as Strength II, Swiftness II, or Healing II. Stronger potions generally last for less time, and some effects do not accept glowstone or redstone.
Create a splash potion with gunpowder
Place a regular potion in the brewing stand and add gunpowder. The result is a splash potion that you throw instead of drink. Splash potions are useful for healing allies, applying buffs quickly, or attacking groups of mobs. Minecraft’s official brewing guide confirms that gunpowder converts a regular potion into a splash potion. ([minecraft.net](https://www.minecraft.net/en-us/article/how-brew-and-use-splash-potions?utm_source=openai))
Create a lingering potion with dragon’s breath
Place a splash potion in the stand and add dragon’s breath, collected when the Ender Dragon’s breath attack is captured in a glass bottle. The result creates a cloud that remains briefly on the ground and applies the potion effect to entities inside it.
Apply modifiers one at a time. For example, brew Nether wart into water bottles, add golden carrots for Night Vision, add redstone for the extended version, then add gunpowder if you want a splash potion.
Best potion brewing order for survival
If you are building your first brewing setup, prioritize potions that solve common survival problems rather than trying to make every recipe at once.
- Fire Resistance: Essential for Nether travel, lava mining, and fortress exploration.
- Strength: Useful against dangerous mobs and during major fights.
- Healing: A fast emergency heal, especially as a splash potion.
- Swiftness: Helps with travel, escapes, and combat positioning.
- Night Vision: Makes ocean monuments, caves, and underwater building easier.
- Water Breathing: Useful for ocean ruins, monuments, and underwater projects.
- Slow Falling: Protects you while exploring the End or working at height.
Keep Nether wart, redstone, glowstone, gunpowder, and empty glass bottles near the brewing stand. A chest beside the stand prevents interruptions while you move through several brewing stages.
Java Edition and Bedrock Edition differences
The core brewing sequence and the standard potion recipes are the same in Java Edition and Bedrock Edition. Both versions use water bottles, a brewing stand, blaze powder, Nether wart, effect ingredients, and the same modifier chain.
One practical difference is that Bedrock Edition cauldrons can store potions, while Java Edition cauldrons cannot. Potion durations, combat behavior, and some special potion availability can also vary by edition or version, so use the description shown on the potion in your inventory as the final reference. ([minecraft.fandom.com](https://minecraft.fandom.com/wiki/Brewing?utm_source=openai))
Common brewing mistakes to avoid
- Using ordinary bottles: The stand needs water bottles, not empty glass bottles.
- Skipping Nether wart: Most effect ingredients do nothing useful when added directly to water bottles.
- Forgetting fuel: The brewing stand will not operate without blaze powder.
- Adding modifiers too early: Brew the effect first, then add redstone, glowstone, gunpowder, or dragon’s breath.
- Brewing only one bottle: Fill all three bottom slots whenever possible to save ingredients and time.
- Using the wrong base potion: Invisibility, Slowness, and Harming require a fermented spider eye and a specific existing potion.
For a reliable first batch, fill three bottles, brew Nether wart into all three, then add Fire Resistance, Strength, or Healing ingredients. Once the basic chain feels familiar, modifiers let you produce longer-lasting, stronger, splash, and lingering versions without learning a completely new system.