To make a rail in Minecraft, place 6 iron ingots in the left and right columns of a crafting table and 1 stick in the center slot. This recipe creates 16 regular rails. Place the rails on solid blocks to build a minecart track, then add powered rails when you need extra speed.
How to make a rail minecraft
Regular rails are the basic track pieces used by minecarts. They can run in straight lines, turn corners, climb slopes, and connect automatically when placed beside other rails.
What you need
- 6 iron ingots
- 1 stick
- 1 crafting table
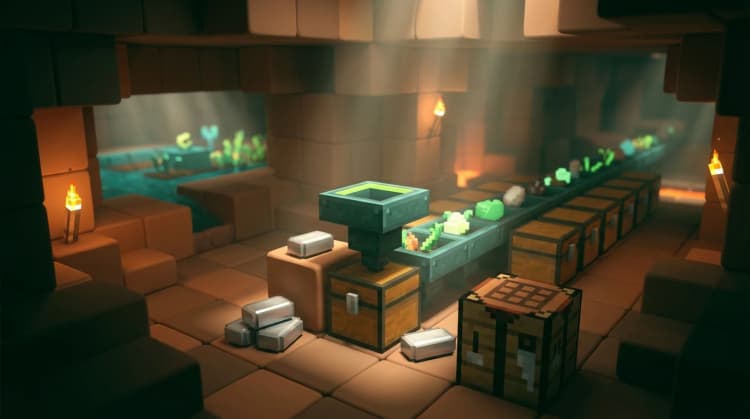
You can obtain iron ingots by smelting raw iron in a furnace or by finding iron in chests and other loot. Craft sticks from two wooden planks placed vertically in the crafting grid.
Regular rail recipe
| Ingredient | Quantity | Crafting result |
|---|---|---|
| Iron ingot | 6 | 16 rails |
| Stick | 1 |
Use a crafting table and place three iron ingots down the left column, three iron ingots down the right column, and one stick in the center slot. Leave the other three slots empty. The recipe produces 16 rails per craft.
Craft the rails
- Open the crafting table.
- Place the iron ingots in the left and right columns.
- Place the stick in the middle slot of the center row.
- Move the 16 rails into your inventory.
How to make a rail track in Minecraft
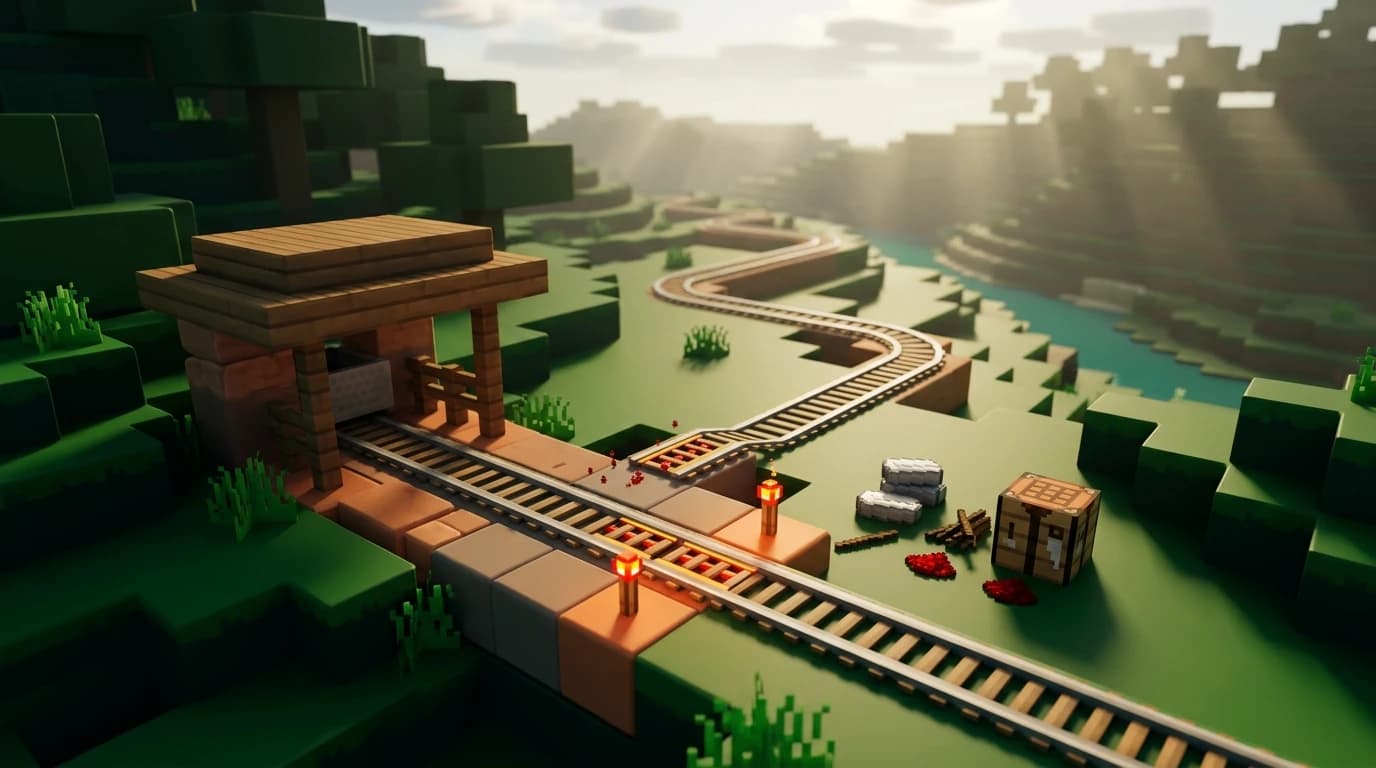
After crafting rails, place them on top of solid blocks such as stone, dirt, wood, or other full blocks. Rails cannot float in the air, so every section of track needs a supporting block beneath it.
- Choose the route for your track and clear obstacles from the path.
- Build a continuous line of solid blocks where the track will sit.
- Place a rail on the first support block.
- Continue placing rails beside one another until the track reaches its destination.
- Add a minecart and push it onto the track to test the route.
Regular rails automatically connect to nearby rails and can form straight sections, corners, T-junctions, and slopes. A regular rail is the only rail type that can curve, so use it for turns even when the rest of your track contains powered or detector rails.
For a vertical change, place a solid block one level higher at the end of the track and place a rail on that higher block. The rail connects as a slope when the surrounding layout allows it.
Build a simple working track
A basic transport line needs a minecart, regular rails, and a way to start the cart moving. Push the minecart by hand, stand inside it and use the forward control, or place a powered rail near the station to launch it.
- Use regular rails for most of the route.
- Use powered rails to accelerate or maintain speed.
- Use detector rails when the cart should trigger redstone.
- Use activator rails when the cart or its passenger must be affected.
How to craft powered, detector, and activator rails
Minecraft has four main rail types. Their recipes look similar, but each one uses different materials and serves a different purpose.
| Rail type | Ingredients | Result | Main use |
|---|---|---|---|
| Regular rail | 6 iron ingots, 1 stick | 16 rails | Builds the track |
| Powered rail | 6 gold ingots, 1 stick, 1 redstone dust | 6 powered rails | Speeds up or stops minecarts |
| Detector rail | 6 iron ingots, 1 stone pressure plate, 1 redstone dust | 6 detector rails | Detects minecarts and outputs redstone power |
| Activator rail | 6 iron ingots, 2 sticks, 1 redstone torch | 6 activator rails | Triggers effects in certain minecarts |
Powered rail recipe
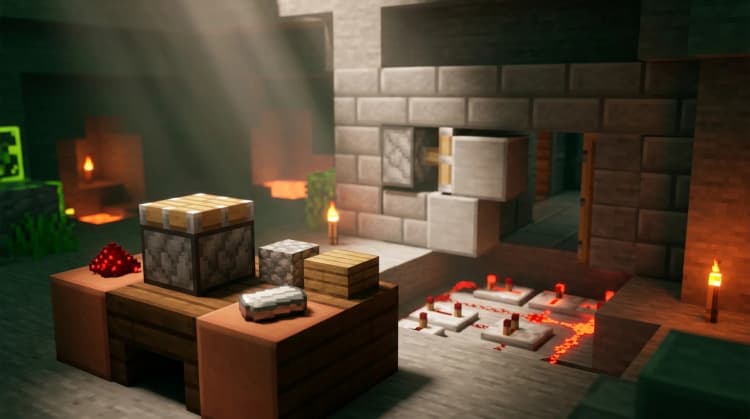
Place three gold ingots in the left column, three gold ingots in the right column, one stick in the center slot, and one redstone dust directly below the stick. This creates 6 powered rails.
Powered rails need redstone power from a redstone torch, lever, redstone block, detector rail, or another suitable source. When powered, they increase minecart speed. When unpowered, they act as brakes and can stop a cart.
Detector rail recipe
Place three iron ingots in each side column, a stone pressure plate in the center slot, and redstone dust directly below it. This creates 6 detector rails.
A detector rail sends out a redstone signal while a minecart is on top of it. You can use one beside powered rails to activate them as a cart approaches, or connect it to doors, lamps, pistons, dispensers, and other redstone devices.
How to make activator rails in Minecraft
To craft 6 activator rails, use 6 iron ingots, 2 sticks, and 1 redstone torch in a crafting table. Place three iron ingots down the left column and three down the right column. Put one stick in the top-center slot, the redstone torch in the center slot, and the second stick in the bottom-center slot.
| Crafting-grid row | Left | Center | Right |
|---|---|---|---|
| Top row | Iron ingot | Stick | Iron ingot |
| Middle row | Iron ingot | Redstone torch | Iron ingot |
| Bottom row | Iron ingot | Stick | Iron ingot |
Activator rails are not the same as powered rails. They do not provide the normal speed boost that a powered rail gives a minecart. Use them when you want a powered rail to interact with the cart or its contents.
What do activator rails do in Minecraft?
A powered activator rail triggers different effects depending on the minecart passing over it. It behaves like a regular rail for movement, but it also activates special minecart functions when it receives redstone power.
- It ejects players and mobs from a regular minecart.
- It primes a TNT minecart.
- It disables a hopper minecart so it stops picking up and collecting items while the rail is powered.
- It repeatedly activates a command block minecart while the cart remains over the powered rail.
An unpowered activator rail does not eject passengers or trigger these powered effects. A hopper minecart can collect items again when it passes over an inactive activator rail.
Power the rail with a redstone torch, lever, redstone block, powered redstone dust, or another redstone component. If you accidentally place activator rails where you wanted speed boosts, replace them with powered rails.
How to build a working rail track
For a practical transport route, combine the rail types instead of using regular rails alone. A minecart loses momentum over long distances and while climbing slopes, so powered rails help it reach the destination reliably.
Simple track layout
- Start with a regular rail at your station.
- Place a powered rail near the starting point and power it with a redstone torch.
- Continue the route with regular rails.
- Add more powered rails along long flat sections and before uphill sections.
- Place a detector rail near a station if you want the arriving cart to trigger a redstone device.
- Test the route with an empty minecart before sending villagers, animals, or supplies through it.
Keep powered rails on the track itself rather than placing them beside it. Powered rails, detector rails, and activator rails connect to regular rails, but they cannot create the curved corners that regular rails can.
Use the right rail for the job
- Regular rail: Use it for ordinary track, corners, and most straight sections.
- Powered rail: Use it to accelerate a moving cart or hold a cart in place when unpowered.
- Detector rail: Use it as a pressure plate for minecarts and redstone circuits.
- Activator rail: Use it to eject riders, ignite TNT minecarts, control hopper minecarts, or activate command block minecarts.
Java and Bedrock rail differences
The regular, powered, detector, and activator rail recipes are the same in Java Edition and Bedrock Edition. Their basic roles are also the same: regular rails form the route, powered rails affect speed, detector rails produce redstone signals, and activator rails affect minecarts.
Rail connections can look slightly different in unusual layouts, especially around intersections and nearby rails. If a rail points the wrong way, remove and replace the surrounding pieces so the game recalculates the connection.
Common rail mistakes to avoid
- Using activator rails for speed: Activator rails do not replace powered rails. Use powered rails when the cart needs acceleration.
- Forgetting redstone power: A powered rail only boosts a cart when it is powered.
- Building without support blocks: Rails must sit on a supporting block.
- Using special rails in corners: Powered, detector, and activator rails do not curve like regular rails.
- Placing too few powered rails: A long route or steep climb can slow a cart before it reaches the next boost.
- Testing only with a passenger: Test the track with an empty cart first, especially if activator rails are part of the design.
If you only need a basic minecart road, craft regular rails with iron and sticks first. Add powered rails for distance, detector rails for automation, and activator rails only when you need a specific minecart action.