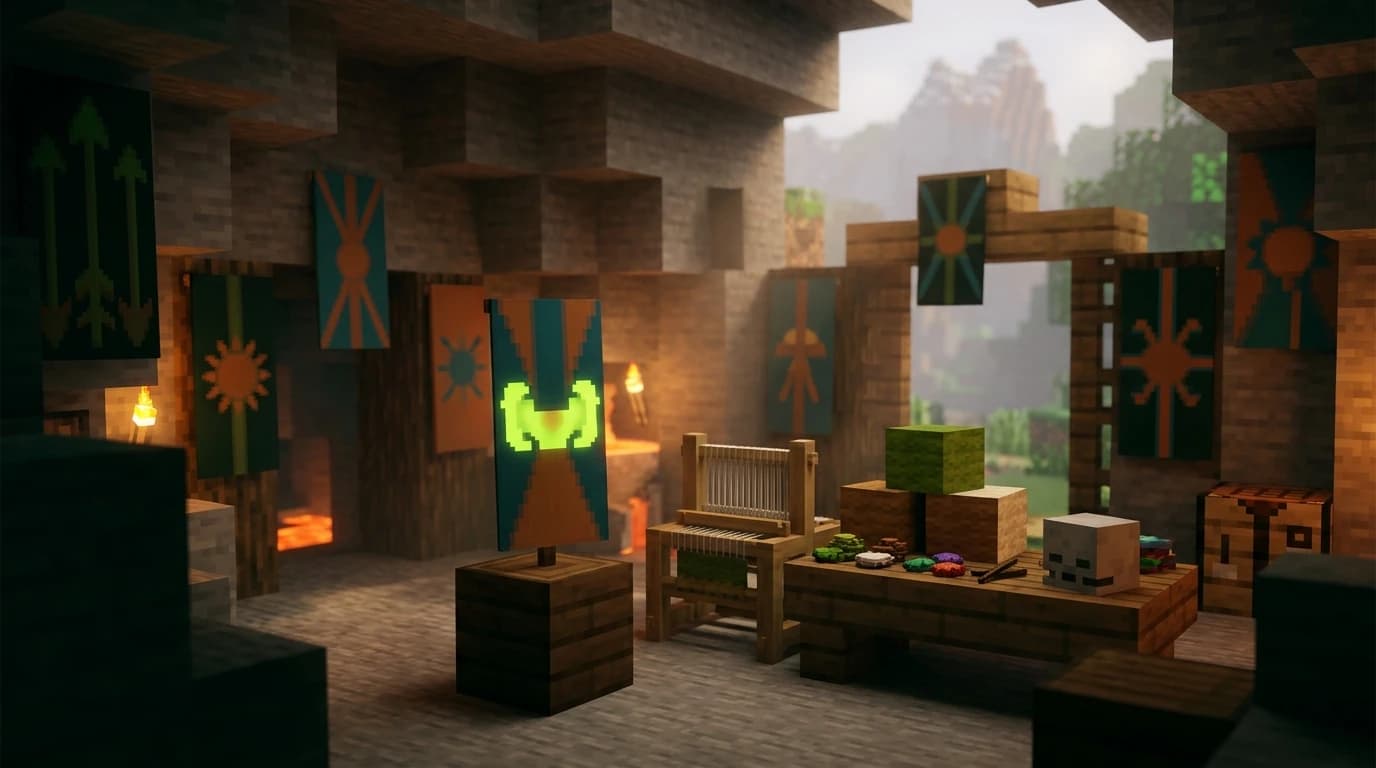
To learn how to make a banner on minecraft, place six wool of the same color in the top two rows of a crafting table and one stick in the bottom-middle slot. Craft the banner, then customize it in a loom with dyes and optional banner patterns. You can add up to six pattern layers.
How to make a banner on minecraft
A banner is a tall decorative block that you can place on the ground or against a wall. Its base color comes from the wool used in the recipe, so choose your wool carefully before crafting.
| Ingredient | Quantity | Where it goes |
|---|---|---|
| Matching wool | 6 | Three across the top row and three across the middle row |
| Stick | 1 | Bottom-middle slot |
To craft it, open a crafting table and place the six wool blocks in a rectangle across the first two rows. Put the stick below the center wool block. The result is one banner matching the wool color.
All 16 wool colors can produce banners, including white, black, red, blue, green, yellow, purple, and gray. You can use wool blocks gathered from sheep or craft colored wool with matching dyes before making the banner.
Getting the ingredients
The basic recipe is available early in survival. Shear sheep for wool, or defeat spiders for string if you need to craft other utility blocks along the way. Wood logs become planks, and two planks plus two string craft the loom used for banner designs.
- Six wool: all six pieces must be the same color.
- One stick: craft two sticks from two wooden planks.
- Two string and two planks: required for a loom.
- Dyes: one dye is used for each pattern added in a loom.
You can also find banners in structures and obtain an ominous banner from an illager captain, but crafting your own gives you control over the starting color.
How to dye a banner with a loom
The loom is the easiest way to add stripes, borders, shapes, gradients, and symbols. It uses one banner, one dye, and an optional banner pattern item.
- Place the loom and open it.
- Put your banner in the left slot.
- Put the dye in the next slot.
- Choose one of the available designs in the pattern list.
- Take the finished banner from the result slot.
The base banner and dye are consumed when you apply a design. The optional banner pattern item is not consumed. Repeat the process to layer several designs, but remember that a normal banner can hold a maximum of six pattern layers.
For example, to make a black stripe across a white banner, place a white banner and black dye in the loom, then choose the horizontal stripe option. To create a colored border, use the banner, a dye, and the border option. Each new layer appears over the previous design, so apply large background shapes before small symbols.
Common loom designs
- Base and chief: color the bottom or top section of the banner.
- Pale and fess: add a vertical or horizontal center stripe.
- Bend and diagonal: create diagonal bands.
- Cross and saltire: create a plus sign or an X.
- Border: outline the edge of the banner.
- Gradient: fade a color toward the top or bottom.
- Circle and diamond: add simple centered shapes.
How to make banner designs and letters
Minecraft does not include a one-click alphabet tool for banners. To make banner letters, build each letter from several narrow shapes in a loom. Start with a plain banner and use stripes, diagonals, and corner shapes to form the letter.
Use a contrasting dye so the letter stands out from the base color. A dark banner with a light letter or a light banner with a dark letter is usually easier to read than two similar colors.
Making an A banner
- Start with a plain banner.
- Add a diagonal stripe running from the lower-left toward the upper-right.
- Add the opposite diagonal stripe to create the sloping sides.
- Use a horizontal center stripe to form the crossbar.
- Add corner or top shapes to clean up the outline.
The exact order depends on the banner colors and which side of each diagonal you choose. Preview every layer in the loom before taking the result, because the same shape can face either direction.
Making an S banner
An S is usually built with a top stripe, a middle stripe, a bottom stripe, and short side sections. Use horizontal bands for the three main sections, then add vertical or diagonal shapes on alternating sides. Keep the dye color consistent across every layer.
For large signs, make one banner per letter and place them side by side. A single banner has limited resolution, so spacing several banners across a wall creates clearer words than trying to fit a long name onto one design.
How to make a skull banner
A skull banner uses the Skull Charge banner pattern. You need a banner, a dye, and a Skull Charge pattern in the loom. The pattern item is crafted with one paper and one wither skeleton skull.
| Item | Quantity | Use |
|---|---|---|
| Any banner | 1 | Place in the loom's banner slot |
| Matching dye | 1 | Determines the skull color |
| Skull Charge banner pattern | 1 | Adds the skull and crossbones design |
Craft the Skull Charge pattern by placing paper in one crafting-table slot and a wither skeleton skull in another. The exact positions do not matter for this shapeless recipe. Put the finished pattern in the loom's optional pattern slot, choose Skull Charge, and collect the result.
Other special banner patterns work the same way. Creeper Charge uses a creeper head, Flower Charge uses an oxeye daisy, and Thing uses an enchanted golden apple when crafting their corresponding pattern items. The loom still requires a dye when applying one of these designs.
How to use a banner pattern
Banner patterns are reusable items that unlock a specific symbol in the loom. They do not determine the color of the design; the dye does that. This lets you use the same pattern item repeatedly on banners with different base colors.
Special patterns include symbols such as a flower, creeper face, skull, piglin snout, globe, bricks, and a stylized border. Newer versions also include additional decorative symbols. If a pattern item does not appear in the loom, check that it is in the optional pattern slot and that a dye is present.
Plan the design before applying it. A banner cannot normally have more than six layers, and the last pattern you add appears on top of earlier layers. If a design becomes too busy, craft a fresh banner and rebuild it with fewer, stronger shapes.
How to duplicate, name, and place a banner
Duplicate a banner
To duplicate a patterned banner, combine it with one blank banner that has the same base color in a crafting grid. The patterned banner transfers its design to the blank banner, giving you two matching banners. The blank banner must match the original base color, and it cannot already contain a pattern.
This is useful for flags, banners used as wall decorations, and repeated letters. It saves the dyes and special pattern items needed to rebuild the design from the beginning.
Name a banner
Place the banner in an anvil and type a custom name in the name field. Take the renamed banner from the result slot and keep it in your inventory until you are ready to place it. Naming is useful for sorting several designs or labeling banners made for different rooms and builds.
Place a banner
- Hold the banner in your hotbar.
- Face the floor or wall where you want to place it.
- Use the place-block control.
- Break the banner if you need to move it.
On the ground, a banner stands on a short post. On a wall, it hangs vertically against the surface. Rotate your position before placing it if you want the front to face a particular direction.
Java Edition and Bedrock Edition differences
The basic banner recipe and loom workflow are available in both Java Edition and Bedrock Edition. Bedrock Edition also supports additional banner-and-dye crafting-table recipes, while the loom remains the cleaner option for previewing designs.
Java Edition has an extra map feature: you can use a map on a standing banner to create a map marker, and a renamed banner can display its name beneath that marker. This map-marker behavior does not work the same way on wall banners and is not available as a matching feature in Bedrock Edition.
What the ominous banner does
An ominous banner is the patterned banner carried by an illager captain. It is mainly a decorative item and does not start a raid just because you place it, carry it, or look at it. Modern versions use Raid Omen and ominous bottles to control raid events instead.
You can place, rename, copy, and use an ominous banner in banner-related crafting just like other banners. You can also use its design on a shield, although a shield displays a smaller version of the banner pattern.
Practical banner tips
- Craft the base banner in the color you want because the base color cannot normally be changed afterward.
- Use a loom instead of wasting dyes on trial-and-error crafting-table layouts.
- Apply broad stripes and backgrounds before adding a skull, flower, creeper, or letter.
- Keep a blank banner of the same base color for duplication.
- Preview every layer before confirming, especially when building mirrored letters.
- Use contrasting colors if the banner needs to be readable from a distance.
For a faster workflow, create one master banner, duplicate it, and then place the copies as matching decorations. This works especially well for gates, towers, storage rooms, bridges, and lettered signs.