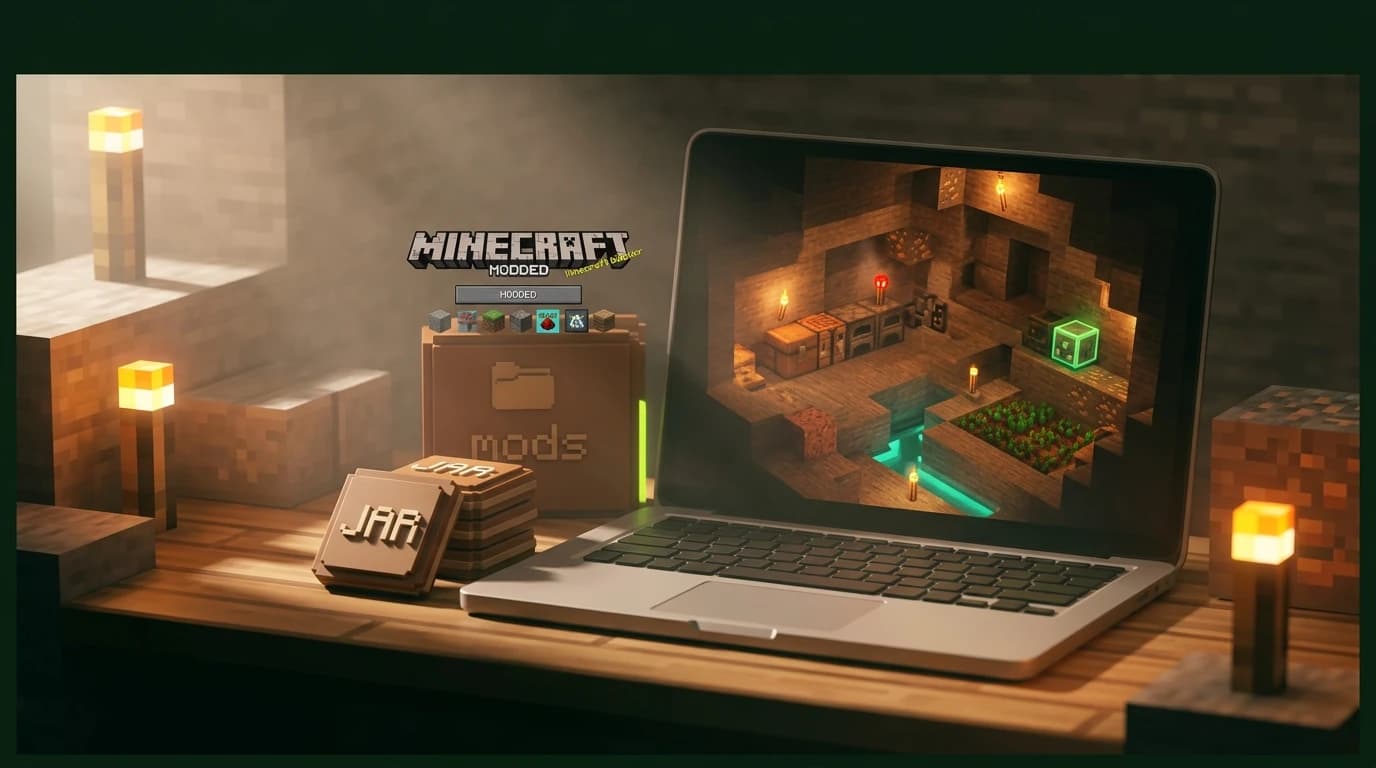
How do I put mods on Minecraft? On PC, use Minecraft: Java Edition, install a compatible mod loader such as Fabric or Forge, download mods for the exact Minecraft version, then place their .jar files in the mods folder and launch the matching profile. Bedrock Edition uses add-ons instead of Java mods. ([docs.fabricmc.net](https://docs.fabricmc.net/players/installing-mods?utm_source=openai))
How do I put mods on Minecraft Java Edition?
Java Edition is the version built for traditional Minecraft mods. A mod loader sits between the game and the mod files, allowing Minecraft to load extra blocks, items, creatures, menus, performance features, or gameplay systems.
Before downloading anything, check these three details on the mod's download page:
- Minecraft version: The mod must support the version you plan to play.
- Mod loader: The file must be made for Fabric, Forge, NeoForge, Quilt, or the loader named by the project.
- Edition: Java mods do not work with Bedrock Edition.
Modrinth and CurseForge are common places to find Java mods. Download only files and dependencies from sources you trust. A mod made for one version, such as 1.21.8, may not work on a later release, even when the numbers look similar. ([docs.fabricmc.net](https://docs.fabricmc.net/players/installing-mods?utm_source=openai))
Install a mod loader first
You need the loader that matches the mods you want. Fabric is commonly used for lightweight gameplay and client-side mods, while Forge and NeoForge are common choices for larger content mods and modpacks. The loader is not the mod itself; it creates the profile that Minecraft uses to start with mods enabled.
Using Fabric
- Download the Fabric Installer for the Minecraft version you want to play.
- Open the installer and choose Client.
- Select the matching Minecraft version and install Fabric.
- Open the Minecraft Launcher and confirm that a Fabric profile appears.
- Download Fabric mods that support the same Minecraft version.
Many Fabric projects also require the Fabric API. If the mod page lists it as a dependency, download the matching Fabric API file as well. Fabric mods are loaded from the mods directory when the Fabric profile starts. ([wiki.fabricmc.net](https://wiki.fabricmc.net/install?utm_source=openai))
Using Forge, NeoForge, or another loader
Download the installer for the loader and Minecraft version named by the mod or modpack. Run the installer, choose the client installation option when available, and then select the new profile in the Minecraft Launcher. Do not mix a Forge mod with a Fabric profile unless the project specifically says it supports that arrangement.
Launch the new profile once before adding mods. This lets the loader create its folders and confirms that the base installation works.
Move the mod files into the mods folder
After installing a loader, close Minecraft and the Launcher before moving files. Create a folder named mods if the loader did not create one. With the standard Minecraft installation, the folder is in these locations:
- Windows: %appdata%\.minecraft\mods
- macOS: ~/Library/Application Support/minecraft/mods
- Linux: ~/.minecraft/mods
Place the downloaded mod .jar files directly inside that folder. Do not extract a mod JAR, place it in the resource-pack menu, or leave it inside another ZIP file. If a download includes several files, read the project instructions and install only the files intended for your loader and version. ([docs.fabricmc.net](https://docs.fabricmc.net/players/installing-mods?utm_source=openai))
For a first test, add one mod at a time. If Minecraft crashes, you immediately know which file caused the problem. When all required files are in place, open the Launcher, select the matching Fabric, Forge, NeoForge, or Quilt profile, and press Play.
Check dependencies and compatibility
Some mods work by themselves. Others need libraries or support mods. A missing dependency usually produces a clear loading error that names the required file, but installing the wrong version can cause a crash before the title screen appears.
- Install every dependency listed on the mod's download page.
- Use the same Minecraft version for the loader, the main mod, and its dependencies.
- Keep Fabric mods in a Fabric installation and Forge-family mods in the loader they require.
- Back up important worlds before opening them with a heavily modified installation.
- Test new mods in a separate world before using them in a long-term save.
A launcher app such as CurseForge can create separate modding profiles and manage compatible files for you. This is useful for modpacks because each profile can have its own Minecraft version, loader, configuration, and collection of mods. The important rule remains the same: every file in a profile must be compatible with that profile's loader and game version. ([support.curseforge.com](https://support.curseforge.com/support/solutions/articles/9000218572-minecraft-getting-started?utm_source=openai))
Using mods in multiplayer
There are two common multiplayer arrangements. A client-side mod changes only what you see or how your own game behaves, such as a minimap or interface improvement. A gameplay mod that adds blocks, items, mobs, dimensions, or rules usually needs to be installed in both the player's game and the multiplayer host's installation.
For a shared modded world, the host and every player should use:
- The same Minecraft version.
- The same mod loader and loader version when required.
- The same gameplay mods and compatible dependency versions.
- The same configuration when the modpack instructions require it.
Some client-only mods can be used without installing them on the host, but a gameplay-changing mod generally cannot. If one player has an extra content mod, the connection may fail, missing blocks may appear, or the world may refuse to load. Never copy a random mod collection into a multiplayer profile without checking the host's required pack.
How to get mods on Minecraft Bedrock and Xbox
Bedrock Edition does not use the Java mods folder or Fabric and Forge JAR mods. Instead, it uses add-ons made from resource packs and behavior packs. Add-ons can change textures, sounds, entities, recipes, blocks, and gameplay rules, but they are installed and activated through Bedrock's world menus.
On Windows Bedrock
- Get a Bedrock add-on from the Minecraft Marketplace or a trusted add-on source.
- Open the downloaded add-on file if it is provided in a Bedrock-supported format.
- Let Minecraft import the pack.
- Select Play, then create a world or select the pencil icon beside an existing world.
- Open Resource Packs or Behavior Packs.
- Find the add-on under Available, select Activate, and load the world.
On Xbox and other consoles
Xbox, PlayStation, and Switch do not use Java mod files. The supported route is Bedrock add-on content, especially content obtained through the in-game Marketplace. Add-ons can work in single-player, multiplayer, and Realms worlds, but official guidance does not support installing Marketplace add-ons directly on personal non-Realms multiplayer servers. ([help.minecraft.net](https://help.minecraft.net/hc/en-us/articles/24120525083533?utm_source=openai))
When an add-on is active on a Realm, Bedrock players joining from supported devices can download and apply the Realm's active add-ons automatically. For a normal world, the owner activates the resource and behavior packs from that world's edit screen.
How to make mods for Minecraft
Making a mod is different from installing one. You need Java programming knowledge, a development kit, a mod loader development kit, an IDE such as IntelliJ IDEA or Eclipse, and a project configured for a specific Minecraft version. Forge's development setup uses an MDK and Gradle, while Fabric projects use a generated project structure with Java source files and mod metadata.
A typical beginner workflow is:
- Choose Fabric, Forge, or another loader and select a Minecraft version.
- Set up the loader's development kit and a supported Java Development Kit.
- Open the generated project in an IDE.
- Change the example mod's ID, name, and metadata.
- Add code and assets for blocks, items, entities, recipes, or commands.
- Run the development client to test the mod.
- Build the project to create a JAR file.
- Place the finished JAR in a compatible modded profile for final testing.
Do not download a development kit when you only want to play someone else's mod. Players need the finished mod JAR; creators need the development project. ([docs.minecraftforge.net](https://docs.minecraftforge.net/en/latest/gettingstarted/?utm_source=openai))
How to turn off mods and fix crashes
To disable Java mods, close Minecraft and move the suspected JAR file out of the mods folder, or launch a vanilla Minecraft profile instead of the mod loader profile. If the game works normally afterward, add the files back one at a time until you identify the incompatible mod.
For Bedrock, open the world settings, select Resource Packs or Behavior Packs, open the Active tab, and remove the add-on you want to disable. Back up the world first. Removing an add-on can remove its mobs and replace its custom blocks with default blocks. ([help.minecraft.net](https://help.minecraft.net/hc/en-us/articles/24121220131597?utm_source=openai))
- Check that the file is for Java if you are using Java Edition.
- Check the exact Minecraft version, not just the major release number.
- Check the loader listed by the mod author.
- Install missing APIs and libraries.
- Remove duplicate versions of the same mod.
- Test with a new world if an old save crashes after adding content.
If Minecraft crashes before the menu appears, remove the newest mod first, then review the crash report for the named mod or missing dependency. A clean profile with one tested mod is faster to repair than a profile containing dozens of unknown files.